Hello, how nice that you looked at this site, I assume you have started with bees or intend to start with bees. Congratulations, your life won’t be the same again – suddenly you find yourself checking out which trees are blooming right now and start spending tons of time learning the names of different flowers, especially the ones the bees like. Suddenly you see all the bumblebees and realize that there are an incredible number of different varieties (38 in Sweden, yes, I looked that up) then there are over 200 different kinds of wild bees as well.
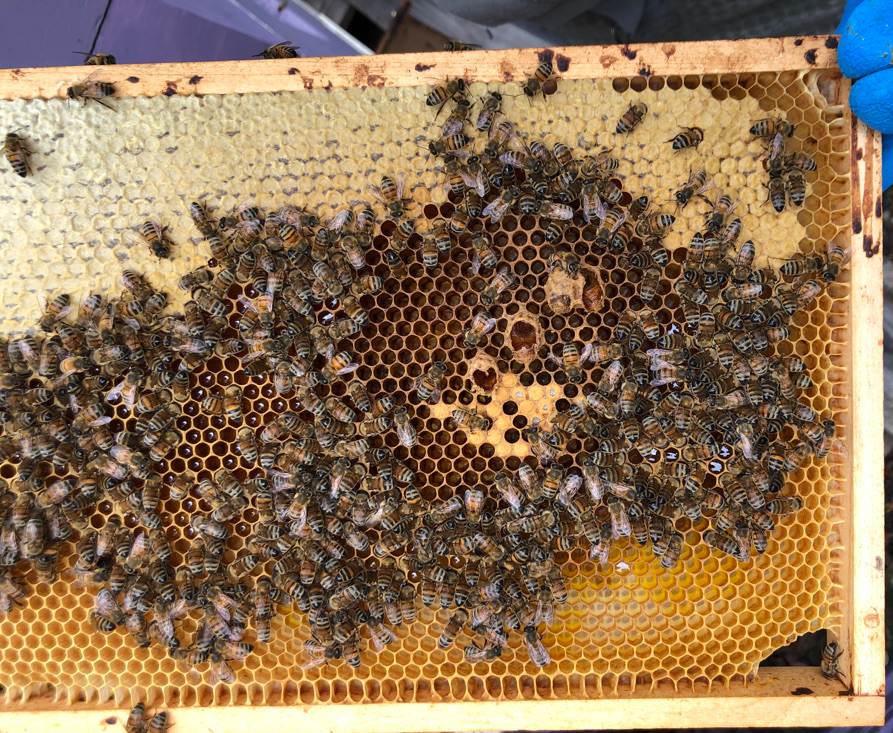
We remember how confused we were when we had taken the course and got our first bees home – when we opened the hive for the first time we couldn’t tell the difference between honey and brood cells and mostly stood scratching our heads in confusion.
So that’s why we thought we’d put together this simple manual for the new bee owner. First a finger in the air – even if they are “only” insects, they are still pets that we have chosen to get, so it is our duty to take care of them to keep them as healthy as possible.
The first thing you have to do is get the basic equipment, protective suit, gloves, hive knife and spray bottle with water that we spice with some aromatic oils (we absolutely do not use smoke puffs – remember we would take care of the bees). There are cheap white suits that work well, but then there is also a ventilated suit with double fine mesh fabric – it costs a little more but is extremely comfortable when it is warm and it is completely sting-proof as the stinger does not go through the double fabric. In addition to this, cup material is also needed and then you have to decide which model you want and make sure you have extra combs because there will always be a shortage of frames. This must be fixed before the bees arrive, otherwise there will be stress further on when all the material has run out at the retailers. We use standing hives and it is important to make sure to have a model with a mesh bottom and a varroa insert that is under the mesh so that you can easily check the fallout without getting a lot of bees out.
Then you have to choose whether you want to have an overwintering colony or a nuc – I probably recommend to start with a nuc since it is easier, but on the other hand, there won’t be much honey from those in the first season, which is the very point of having bees. Unfortunately we need to address boring things directly, i.e. Varroa, which is a parasite that is guaranteed to kill the bees within 2 years if one don’t take the right measures. When you buy a colony, the seller should tell you how much Varroa they have and what treatments have been done so that you can plan future treatments against Varroa.
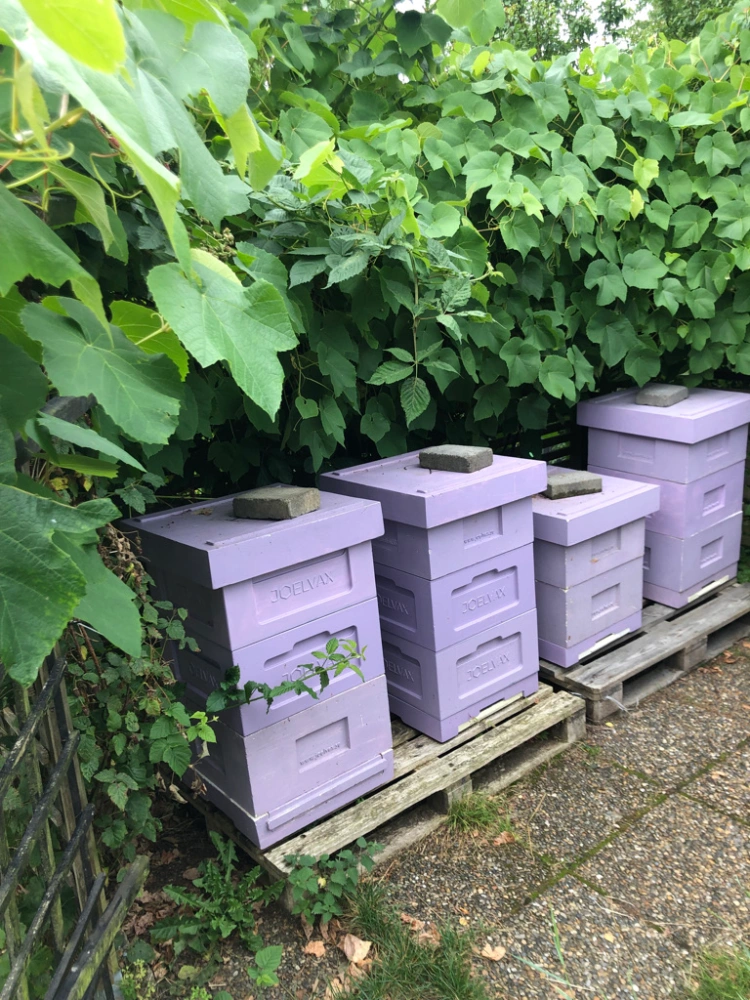
Be sure to plan a good place for the bees, preferably with some wind protection from the north wind, with morning sun and shade in the middle of the day. It may not be easy to solve everything, but think one more time before the location is decided. If you want to have your bees close to the neighbors, it is good to make sure that the bees must fly upwards – for example with a fence where you put climbing plants (we ourselves have boysenberries and grapes so our hives are barely visible). Also remember to place the hive so that the hive is oriented that you can easily stand behind it and work and that the bees do not have their direction of approach right over your lawn or where you usually sit. Should you find out later that the location is not quite optimal, it is possible to move, we will tell you how to do this under the tips page.
Finally the big day comes when the bees arrive – we assume it’s a over wintered colony so we take it from there.
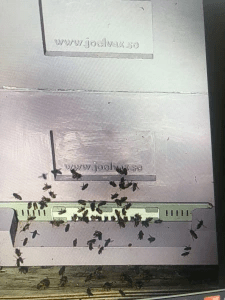
The hive is in place and it should have two boxes right away (use a stone on the lid or tie together with a strap) and if it didn’t come with two, you put one on, we put it on top but other beekeepers might say differently. Now we are going to start keeping track of the Varroa and therefore the varroa insert should go in immediately and then get the routine of checking the fallout every week until you are sure you have a low count. Then every two weeks is enough. A good tip is to get a diary where you write down everything you do.

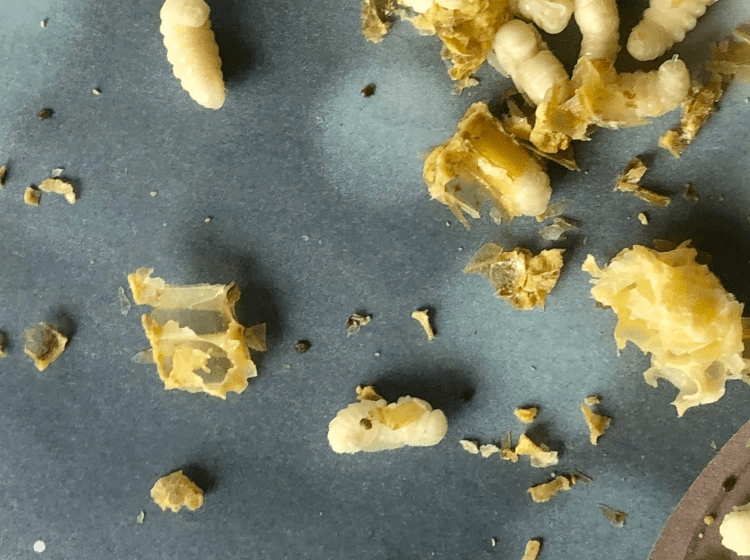
When society arrived, they should have plenty of food, but you have to check that – there should be at least 3 frames of food so they have enough for the spring development in case the weather is a bit cold. In the first week of May, the drone frame (I call it the Varroa trap) will go into the brood box – it’s a three-part frame without wax and there the bees will make drone cells. Since Varroa prefers drones, the majority of Varroa will crawl in there and properly done you can quite often manage the mites with just this simple treatment. The bees will start to build up all three parts at the same time and after one week you cut off the wax from two of the parts and week two you cut off one of these again. Then we have wax in three stages and can soon start cutting away the closed drone cells, 1/3 of the frame every week (they have to be closed before cutting them off so the varroa has surely crawled in) and then we freeze the wax combs with trapped Varroa. Some may think it is macabre to kill drones, but there will be enough drones anyway and in this way you can keep the Varroa down without resorting to chemical means. If you have someone you know who has chickens, you can give the wax cakes there – perfect chicken food.

In May and June things happens incredibly fast, so it’s important to be focused and have a plan – we do the following check every week from the second week of May:
1. Check food – always at least three full frames of food
2. If there are old black frames (the frames get blacker the more times there have been brood in them), we replace them with new fresh ones if they are empty. If there are brood and/or honey in them, they go up into the super when it is in place (usually when there is no risk of frost anymore, so the end of May). Just make sure that the moved frames do not have eggs, Otherwise the bees might build queen cells. Also make sure the queen doesn’t come along. Is she marked? Otherwise, you mark her as soon as you find her. How we do queen marking comes under the tips page.
3. If there are frames full of freshly drawn honey combs, we remove them and store them in plastic trays until we have time to extract the honey. Keep 2-3 frames in the hive as food when there are good forage, too much food triggers swarming. We don’t let honey stay in the hive because we want to keep track of our honey and how much they have – if you have full honey frames, it’s also easy to subsidize a starving society when the forage runs out. We pick the honey combs as it comes in which allow us to extract single flower honey that we sell to higher price.
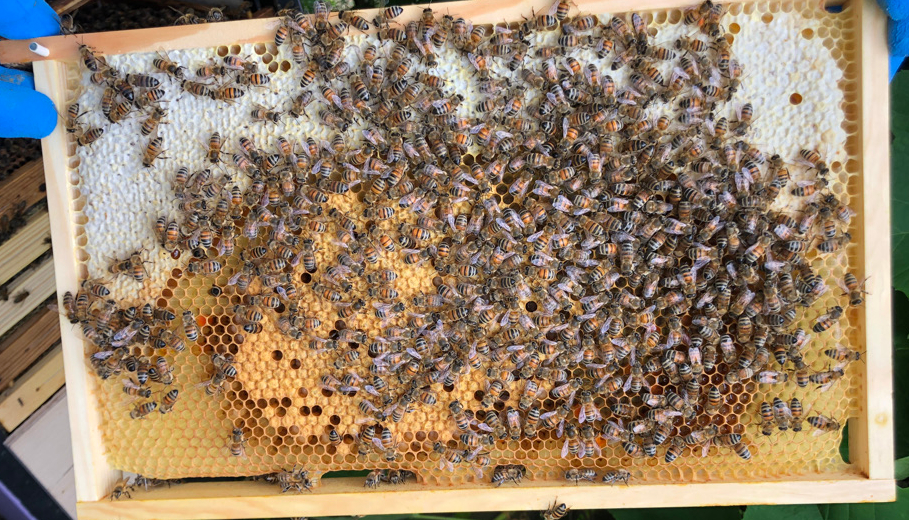
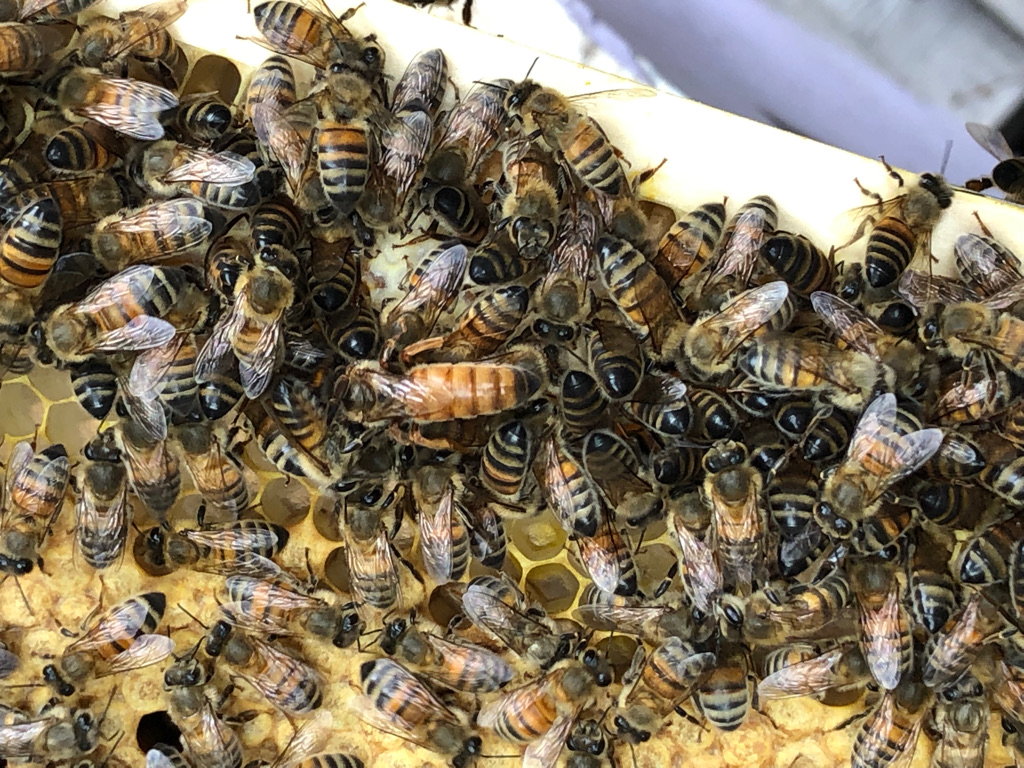
4. If we find the queen, it’s all well and good but not necessary. We look for the brood and if we find open brood with small larvae, we know we have a queen. We should have at least 5 frames with brood in mid-May, preferably more.
5. Cut out 1 part of the drone frame.
6. If there starts to be a lot of honey in the brood boxes, it is definitely time for a super box – we always move up a couple of frames with some covered brood mixed with honey so they find the new space. We divide with a excluder so that the queen does not get into the super box.
7. Check that they do not start building queen cells, which is a sign of swarming to happen soon.
8. Check Varroa fallout – less than 15 in a week and the varroa trap will catch them and the bees will not be affected by such a low level. If we have upwards of 25 in a week, a lactic acid treatment may be needed so that the bees are not affected until the trap catches them, and this might need to be repeated twice because lactic acid does not enter capped cells. Lactic acid is fairly non toxic to the bees and therefore we prefer it if we have to do a treatment.
A review like this takes 15 minutes when you’re used to it, but count on double that at the beginning. If everything looks good, you take your honey and go have a cup of coffee and fill in your bee diary.
If you want more colonies, you can make a split at the beginning of June – then you take out a frame with eggs, a frame with honey and pollen and make sure there are bees so they cover all the frames. You can fill up with a little more young bees because the drag bees fly back to the home hive and then you fill up with empty frames until the new hive is full. After 7 days, they have developed one or more cells into queen cells, they are about 3 cm long.
We save the one that looks best we either use the remaining ones for nuc’s or we remove them because if there are too many they can kill each other and no one will be left. After another week she is born and it takes a week before she is mated and you can start looking for eggs. If you find eggs, all is well and good, and of course we also mark the new queen. Make sure the new hive have food and take from your supply of frames if needed but don’t fall for the temptation to give sugar it slows development and gives weak bees. If for some reason things have gone wrong and no queen is visible, you can try inserting a new frame with eggs again. If the queen is present, they don’t make queen cells, but if she’s gone, they make new ones and we have to start over. It’s fine to do nuc’s in mid July without problems.
Now we’re a bit into June and by then there should have been some honey, we should have close to zero fallout in the Varroa trap, we should have added the super (even two if forage is good) so they have room. Now we get to keep an eye on the swarming behaviour and if we have given them space, given them new wax to work with and removed excess honey they should not have shown swarming tendencies. If we have also made a nuc, it may happen that we avoid it altogether.
But, if swarm cells start to appear, there is no point in trying to remove them, as some say, because the bees will only make new cells. Once they’ve made up their minds, they’ve made up their minds and if you try to stop it, they just become passive and irritated. No, then you have to do a queen split instead and you do it like a normal split, but you move the queen away to a new hive with all open brood (except one with completely newly laid eggs, i.e. eggs that stays in the home hive) and some food frame. In addition to the frame with eggs, the home hive may keep all covered brood – then you do the same as with normal split, i.e. save only one brood cell (if we give them two, they can use one for the swarm anyway).
Around midsummer, they stop making drones and then you remove the Varroa trap – often they start putting honey there and we don’t want that removed with the trap – for this year. Now you should have close to zero fallout and if so usually no further treatment is needed at all, see varroa control under Bertil’s commandments for more details.
By now you’ve probably slurped your first honey – surely the first sip was heavenly? Don’t extract all the honey you’ve collected because we’re supposed to take care of the bees, right? Therefore, you should always make sure to keep at least 5 frames of honey per hive in your plastic box – reserve food in case you run out of nectar flow and as food for the winter. We don’t force the bees to only eat sugar all winter, they need honey for their immune system, see “winter into honey” under Bertil’s commandment. In addition, if we winter partially on sugar, 1-2 frames are needed as extra feeding next spring to be sure they are make strong brood.
If your first colony was a nuc, they are usually delivered around midsummer and then you follow the manual from here, of course all the preparations with materials and location as previously described.
Best to always do a lactic acid treatment on a nuc as we don’t know their Varroa status. The only time I recommend doing preventive treatment is when you bring in a new colony that you don’t know about the history of Varroa (nuc’s and swarms).
Now we’re halfway through your first year and so far it’s hopefully been going well, right? In July the flow can start to decrease and hence we can also check only every two weeks but, then we should also make sure that there are 5 frames in the hive so they have food tocontinue to make a lot of brood. Usually there is enough nectar to feed themselves but it tends to be sparse with excess, maybe one or two combs now and tehn. By the way, do you live in a rapeseed area? If so that honey should be removed immediately when it comes in the hive- it should definitely not be fully capped, just check that it does not splash during the shake test – extract and jarred immediately. It turns into concrete in no time and cannot be removed if it has crystallized – usually happens within a week.
If there is heather where you live, it may happen that you get one last forage, i.e. the heather forage. If you want heather, it is extra important to make sure that the bees lays a lot of brood at the end of July and therefore you have to make sure that they have 3-5 frames of honey so they are ready at the beginning of August. Heather is thixotropic, i.e. it is naturally jelly so it is difficult to get out of the frames without a perforator, ask if your local club has one to lend. There are hand tools that work more or less well.
So it’s time to start thinking about wintering and there’s no reason to wait, the sooner the better. Easier for us and better for the bees – by the way, they already prepare for winter in June because that’s why they collect honey. When heather flow is finished, it is therefore time to start wintering:
1. Check the Varroa fallout carefully – less than 15 per week no treatment is needed (neither formic acid nor oxalic acid). At above 15 fallout, we do a lactic acid treatment and check again until it is low enough. We only use formic acid in extreme emergencies (more than 35 falls/week) as it is a strong acid that can kill the queen if you are unlucky.
2. The super is removed and the honey frames are moved down to the brood box. We recommend wintering only on honey but at least at least 50% honey (8-10 kg). If you need to top up with sugar, give the sugar in the evening when all the bees are inside, hence we reduce the risk of robbery. Incidentally, don’t believe anyone who claims that honey would be dangerous for the bees, although of course rapeseed and cement honey don’t work as winter food – water is needed to dissolve it and they don’t have that in the winter. If you got any rapeseeds left over – save them until spring, they become perfect start-up food.
3. We overwinter in two boxes because it is best for the bees and easiest for us, see article under Bertil’s commandments for details. For the sugar feeding, we dilute a 60% sugar solution and there is an excellent feeding box to buy that takes 10 l in one go and healthy bees pull down such a box in 2-3 days. After all, the bees have to reduce the water content from 40% to 20% and for that heat is needed and that’s why you shouldn’t wait too long with wintering.
4. We remove the varroa plate for better ventilation
5. We turn on the fluster reducer with the mouse protection so no mice get in.
6. As a beginner, you are of course worried, so if you want to do oxalic acid treatment, even if it is completely unnecessary if the fallout is as low as I described, then by all means do it. But be assured, we have not used oxalic acid in years only three cases of formic acid (out of 35 hives ) and no winter losses for 9 years.
So the first year is over and if you have followed this manual, you can calmly wait until next spring and, trust me, there is no better sign of spring than seeing the bees fly for the first time. And if you did split your hive, you now have two or maybe even three colonies and you are on your way to becoming a caretaker of bees (the beekeeper has bees but the caretaker takes care of his bees).
How to store winter frames comes under the tips page.